|
| <- prev |
| Using "Startup environment creation tool" -> Setting bootable "USB flash drive" |
Setting bootable "USB flash drive"
This is a process to incorporate a "Boot up erase program" into a commercially
available USB flash drive.
You can start the PC from the set USB flash drive
and use the "Boot up Erase Program".
The created USB flash drive can be
booted in both the BIOS and UEFI environments.
* Another program for configuring USB flash drives is the "USB stick Boot
configuration tool" (gpusbst4.exe).
This does not require
administrator privileges and can be used with user privileges.
Please
see "Abstract,
Executing , Functions" for details.
| Warning ! |
| * Please note that the USB flash drive is initialized by the setting
process and the inside is erased.
* Please use a USB flash drive of 64GB or less. Anything larger than 64GB will be treated as an erase target drive and you will not be able to write logs. Also, when automatic erase is set, it will be erased automatically. * USB flash drives that are encrypted and those require a password at the time of use cannot be used for booting. |
* The USB flash drive can be set if it has a capacity of about 128MB.
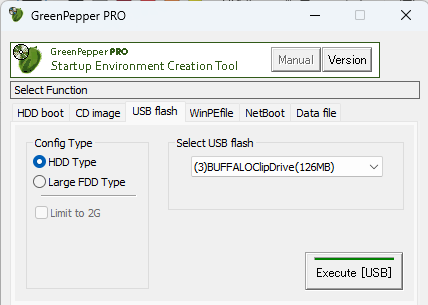
Select USB stick
Select the USB flash drive to be set from the list.
* A list of USB removable drives is displayed.
When you make a selection, information such as the current setting type is displayed.
Config type
Select the method for setting the USB flash drive.
Normally, select "HDD type".
Depending on the PC, it may not be possible to boot with the "HDD type".
In that case, please try with "Large FDD type".
If you check "Limit to 2G", the USB flash drive larger than 2GB will be limited to the capacity of 2GB.
This is an option when you cannot boot with a large capacity one on an old PC.
* Even if you set "Limit to 2GB", if you format it in Windows, you can use it with normal capacity.
You may need to change the BIOS settings to boot from a USB flash drive.
For information on changing the BIOS settings, see "Setting the boot environment on BIOS/UEFI".
Options
For the options , see "Common options".
Execute [USB]
Execute setting USB flash drive.
* Please note that the inside of the USB flash drive will be erased.
* Processing will take some time. Please wait until the end message appears.
Points to note in the setting procedure
The setting procedure is as follows. Follow the on-screen messages to proceed.
1. Confirmation of execution
You will be asked if you want to execute it. Click "OK" if you want to proceed.
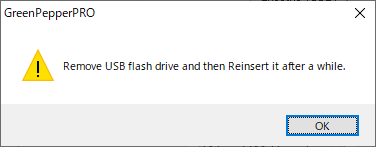
2. Remove the USB flash drive and then reinsert it.
If the following message appears, remove the USB flash drive once, wait a few seconds, and then insert it again.
After reinserting, click "OK".
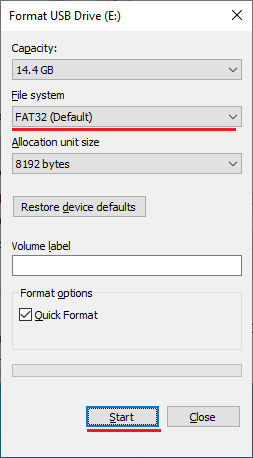
3. Format the USB flash drive
Before you start formatting, you will get a message like the one below.
On this screen, you can specify whether file system is "FAT" or "FAT32".
* FAT for 2GB or less, and FAT32 for larger capacities.
On the next format screen, be sure to select the indicated file system and format it.
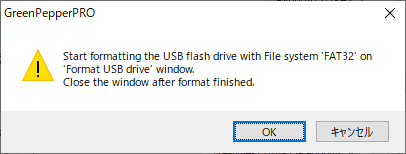
On the format screen, check "File system" and press the "Start" button.
* "Quick format" can be checked or unchecked.
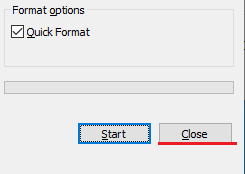
After formatting is complete, click the "Close" button to close the format screen.
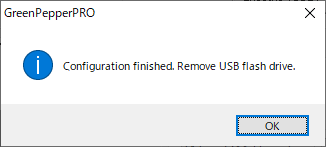
4. End message
It is complete when the following end message appears.
Even if you want to check the inside of the USB flash drive, please use it after removing and reinserting it.